


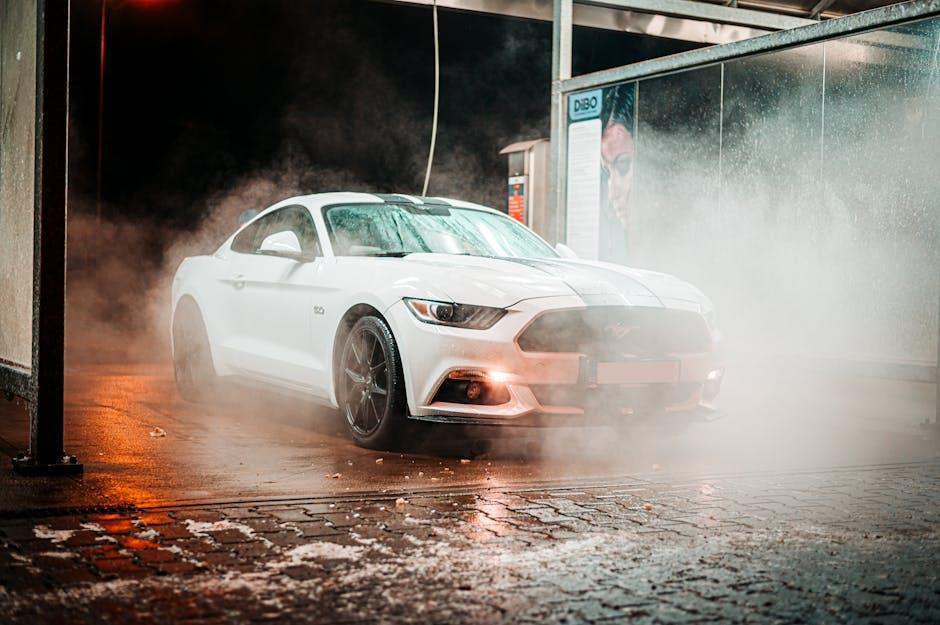
There’s one thing undeniably satisfying about remodeling a uninteresting, dusty automobile right into a gleaming masterpiece proper in your individual driveway. Automobile detailing isn’t nearly cleanliness; it’s an artwork that brings out the true persona of your automobile whereas defending its worth. Whether or not you’re a seasoned automobile fanatic or a weekend warrior, mastering the necessities of DIY automobile detailing can elevate your journey from unusual to extraordinary. On this information, we’ll discover sensible ideas and skilled methods that can assist your automobile shine like a professional—no fancy storage or costly service required. Get able to roll up your sleeves and uncover the transformative energy of a well-detailed automobile.
Desk of Contents
- Selecting the Proper Instruments for a Flawless End
- Mastering the Artwork of Paint Correction at Dwelling
- Step by Step Information to Inside Deep Cleansing
- Defending Your Shine with Efficient Sealants and Waxes
- Insights and Conclusions
Selecting the Proper Instruments for a Flawless End
In terms of reaching a professional-grade shine, the number of your instruments could make all of the distinction. Investing in high-quality microfiber towels, soft-bristled brushes, and a dependable dual-action polisher ensures you’re geared up to deal with each floor with care and precision. Keep in mind, overly abrasive instruments can harm delicate paintwork, whereas low cost supplies usually go away behind lint or streaks. Purpose for versatility by selecting instruments that accommodate varied detailing levels—from washing and drying to sprucing and waxing.
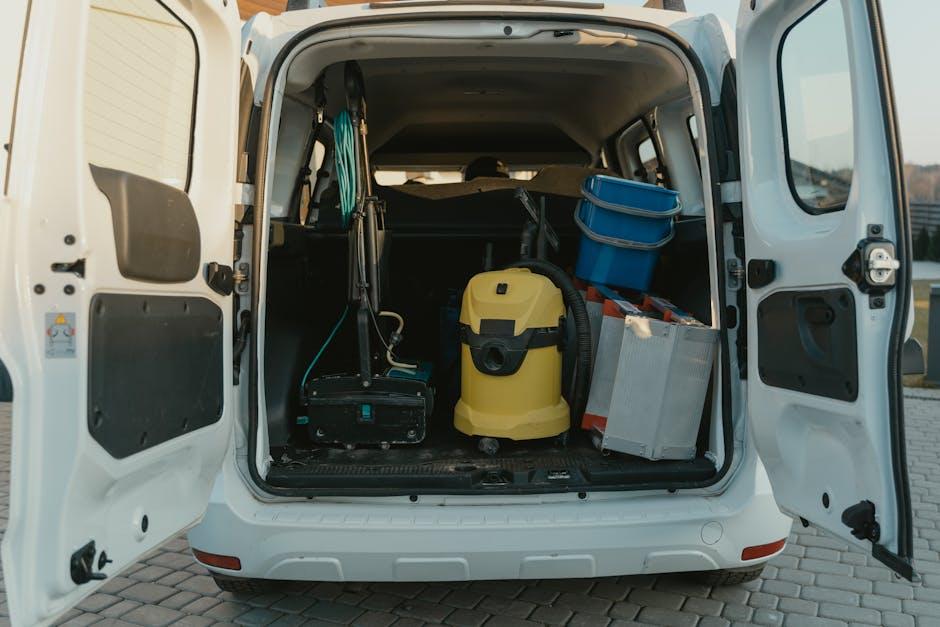
Think about assembling a toolkit that covers these necessities:
- Microfiber Towels: Extremely-soft and extremely absorbent for streak-free drying.
- Foam Applicator Pads: Very best for making use of wax, sealants, and dressings evenly.
- Detailing Brushes: Numerous sizes for reaching each nook and cranny.
- Twin-Motion Polisher: Consumer-friendly for newbies but efficient for eradicating minor imperfections.
| Software | Goal | Tip |
|---|---|---|
| Microfiber Towel | Drying & Buffing | Use a number of towels to keep away from contamination |
| Applicator Pad | Wax & Sealant Software | Select delicate foam for scratch prevention |
| Detailing Brush | Cleansing Crevices | Decide brushes with nylon bristles for paint security |
| Twin-Motion Polisher | Sharpening & Compound Removing | Follow on much less seen areas first |
Mastering the Artwork of Paint Correction at Dwelling
Unlocking the brilliance of your automobile’s end is all about persistence, precision, and the proper methods. Begin by totally washing and claying your automobile to remove floor contaminants that may sabotage your paint correction efforts. Subsequent, choose a top quality compound and polish combo suited to your paint’s situation — compounds are extra abrasive and deal with extreme imperfections, whereas polishes refine minor swirls and haze. Utilizing a dual-action polisher is very advisable for even, protected outcomes; it mimics professional-grade instruments however stays user-friendly for lovers at residence.
Throughout correction, work in small sections with overlapping passes and apply constant stress. Right here’s what to remember for greatest outcomes:
- Take a look at spots: At all times begin in a much less seen space to gauge product effectiveness and paint responsiveness.
- Pad selection issues: Use a chopping pad for compounding and a ending pad for sprucing.
- Clear pads incessantly: This prevents product buildup that may trigger new scratches.
- Keep correct pace: Average pace helps keep away from overheating paint or leaving swirl marks.
| Software | Use | Advisable Velocity (RPM) |
|---|---|---|
| Twin-Motion Polisher | Reducing & Sharpening | 4,000 – 6,000 |
| Foam Reducing Pad | Take away Deep Scratches | Medium |
| Microfiber Ending Pad | Take away Swirls & Improve Gloss | Low to Medium |
Step by Step Information to Inside Deep Cleansing
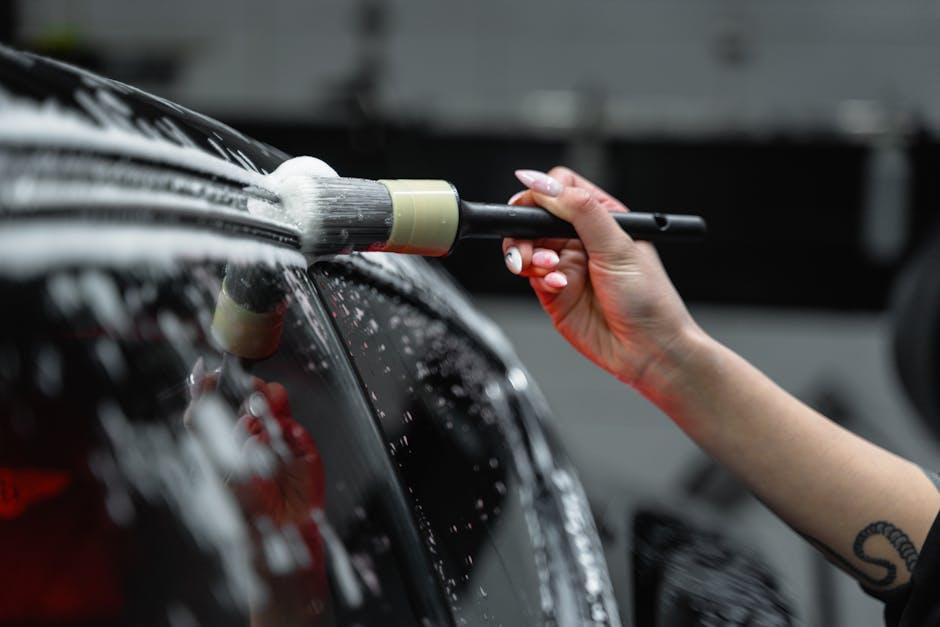
Start by clearing out each free merchandise out of your automobile’s inside — this implies trash, private belongings, and ground mats. Use a handheld vacuum with crevice instruments to succeed in tight spots like underneath the seats, air vents, and between seat cushions. Give attention to eradicating grime, mud, and crumbs to create a clean canvas earlier than you begin scrubbing or wiping surfaces. For cussed stains on cloth or upholstery, apply a delicate foam cleaner and use a delicate brush in round motions to raise grime with out damaging fibers.
As soon as vacuumed and spot-cleaned, transfer on to wiping down all arduous surfaces with a microfiber fabric and an acceptable inside cleaner. Don’t overlook the dashboard, heart console, door panels, cup holders, and steering wheel — these areas lure oils and grime that uninteresting your automobile’s shine. To maintain the whole lot organized, right here’s a fast guidelines of merchandise to have useful:
- Microfiber cloths for light wiping
- Inside-safe cleaner for plastics and vinyl
- Foam upholstery cleaner for cloth seats
- Gentle-bristled brushes for detailed scrubbing
- Vacuum with crevice attachments
| Step | Motion | Tip |
|---|---|---|
| 1 | Declutter & vacuum | Use crevice instruments for tight spots |
| 2 | Spot clear stains | Apply foam cleaner gently |
| 3 | Wipe surfaces | Use microfiber fabric and inside cleaner |
| 4 | Element small areas | Do not miss vents and buttons |
Defending Your Shine with Efficient Sealants and Waxes
To take care of that freshly polished look, making use of a high-quality sealant or wax is non-negotiable. These protecting layers act as shields, defending your automobile’s paint from harsh UV rays, grime, and contaminants that uninteresting the end over time. Sealants are artificial and provide longer-lasting safety, usually lasting a number of months, whereas pure waxes present a wealthy, deep gloss however usually want extra frequent reapplication. Selecting between them is determined by your driving habits and environmental publicity, however both manner, the act of layering safety elevates your automobile’s shine from fleeting to formidable.
In terms of software, method issues simply as a lot as product selection. Listed here are some game-changing ideas that can assist you seal and wax like a professional:
- Prep Completely: At all times be sure the floor is clear and dry to keep away from trapping grime underneath the safety layer.
- Apply Skinny Layers: Much less is extra—skinny, even coats permit for faster curing and higher bonding.
- Use Gentle Applicators: Microfiber cloths or foam pads cut back the danger of swirl marks and guarantee easy protection.
- Enable Correct Treatment Time: Comply with the product’s specified drying time to maximise sturdiness.
| Product Sort | Sturdiness | Gloss End |
|---|---|---|
| Sealant | 4-6 months | Shiny however artificial |
| Pure Wax | 4-6 weeks | Wealthy, deep shine |
| Hybrid (Sealant + Wax) | 2-4 months | Balanced gloss and sturdiness |
Insights and Conclusions
In the long run, mastering the artwork of DIY automobile detailing is not only about making your automobile shine—it’s about embracing the care and pleasure your journey deserves. With these important ideas in hand, you’re geared up to remodel your automobile right into a gleaming reflection of your consideration and energy. So roll up your sleeves, collect your provides, and let your automotive magnificence shine like a professional, each time you hit the highway.
