


There’s one thing undeniably transformative a couple of clear, brilliant pair of headlights chopping by means of the evening—each for security and elegance. Over time, nevertheless, the lenses in your car can grow to be cloudy, yellowed, or foggy, dimming your drive and diminishing your automobile’s total look. However earlier than speeding to the mechanic or splurging on new components, take into account a hands-on method. On this DIY information, we’ll discover easy but efficient strategies to revive your headlights to their unique readability, brightening not simply your beams, however your complete driving expertise. Whether or not you’re a seasoned automobile fanatic or a curious novice, getting ready to roll up your sleeves might make all of the distinction on the highway forward.
Desk of Contents
- Understanding the Causes of Headlight Dullness and Yellowing
- Important Instruments and Supplies for Efficient Headlight Restoration
- Step-by-Step Methods for Cleansing and Sharpening Your Headlights
- Selecting the Finest Protecting Coating to Keep Lengthy-Lasting Readability
- The Means Ahead
Understanding the Causes of Headlight Dullness and Yellowing
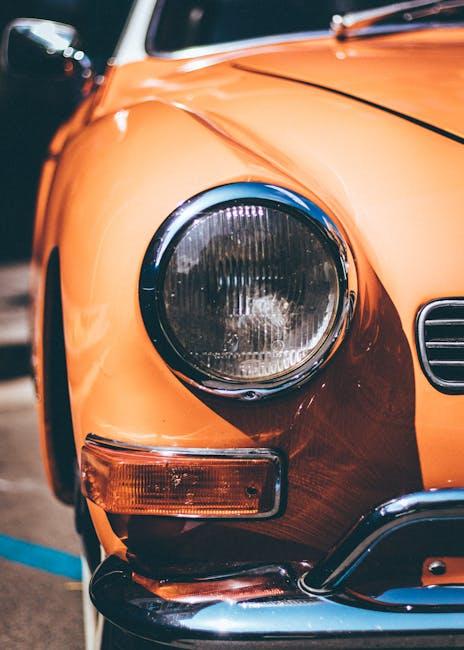
Over time, automobile headlights can lose their readability, turning uninteresting and yellowish—a irritating downside many drivers face. This transformation primarily occurs as a result of plastic lens reacting with environmental components. Ultraviolet (UV) rays from the solar are the principle culprits, breaking down the outer layer of the headlight lens and inflicting oxidation. Harsh climate situations corresponding to rain, snow, and highway salt additionally speed up this degradation by sporting down the floor, leaving it extra weak to clouding and discoloration.
One other vital issue is the buildup of grime, grime, and airborne pollution, which type a cussed, abrasive movie. This floor layer not solely blocks gentle but additionally scratches the lens when wiped improperly. Under is a fast overview of widespread causes chargeable for headlight dullness and yellowing:
- UV Gentle Publicity: Degrades plastic, inflicting oxidation and yellowing.
- Environmental Impression: Publicity to rain, snow, and highway salt erodes the lens.
- Airborne Pollution: Dust and dirt construct up a tough floor layer.
- Bodily Abrasion: Small scratches from improper cleansing amplify dullness.
Important Instruments and Supplies for Efficient Headlight Restoration
Earlier than diving into the rejuvenation of your car’s headlights, equipping your self with the appropriate set of instruments and supplies is essential. On the coronary heart of each profitable restoration lies a top quality sandpaper set starting from coarse to nice grits (usually 400 to 3000 grit). These help you fastidiously take away oxidation and floor imperfections with out damaging the lens. Complement this with a dependable masking tape to guard your automobile’s paintwork from unintended scratches or sanding. Do not forget a pair of nitrile gloves to maintain your arms clear and free from contaminants in the course of the course of, and a spray bottle crammed with water to maintain the lens moist whereas sanding, making certain a easy and even end.
Past the fundamentals, having the appropriate polish or headlight restoration compound can dramatically improve readability and shine. Choose a product that incorporates tiny abrasive particles designed particularly for plastic lenses. A mushy, microfiber fabric or a foam sprucing pad is crucial for the appliance and buffing stage, bringing out that good shine. For a fast look on the necessities, here’s a helpful guidelines:
| Software/Materials | Objective |
|---|---|
| Sanded Grit Paper (400-3000) | Floor smoothing and oxidation elimination |
| Masking Tape | Defend automobile paintwork |
| Nitrile Gloves | Retains arms clear & secure |
| Spray Bottle with Water | Retains lens moist throughout sanding |
| Sharpening Compound | Restores readability and shine |
| Microfiber Fabric or Foam Pad | Utility and buffing |
Step-by-Step Methods for Cleansing and Sharpening Your Headlights
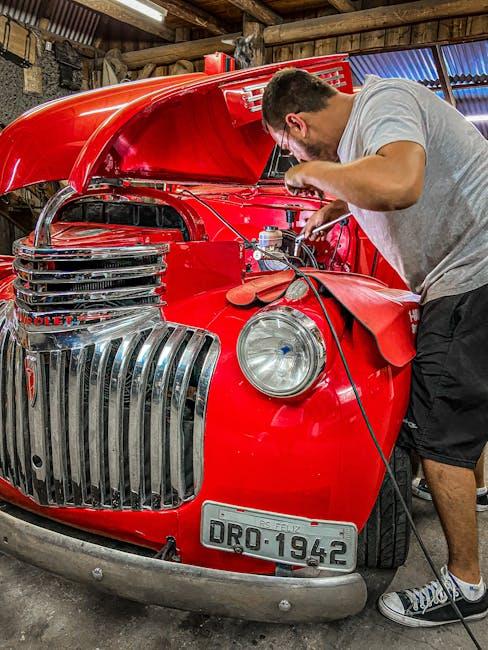
Earlier than diving into the method, collect all of your supplies: delicate detergent, painter’s tape, sandpaper (starting from 800 to 3000 grit), a microfiber fabric, and a plastic polish or headlight restoration package. Begin by washing your headlights with cleaning soap and water to take away any floor grime. Then, use painter’s tape to fastidiously masks the realm surrounding the headlights, defending your automobile’s paintwork. Drench the sandpaper in water and gently sand the headlight in a horizontal movement, progressing from the coarser grit to the best. This technique step by step smooths the cloudy floor, readying it for sprucing. Bear in mind, endurance is essential; speeding can depart scratches or uneven areas.
As soon as sanding is full, rinse off the residue and dry the headlights completely together with your microfiber fabric. Apply a small quantity of polish to the lens, then use round motions to buff the floor till it regains readability. For cussed haze, repeat the sprucing step as wanted. Lastly, wipe away extra product and take into account making use of a protecting UV sealant for long-lasting shine. Right here’s a fast look on the advisable sanding development to maintain helpful:
| Step | Sandpaper Grit | Motion |
|---|---|---|
| 1 | 800 grit | Take away heavy oxidation |
| 2 | 1500 grit | Easy scratches |
| 3 | 3000 grit | Refine floor for sprucing |
Selecting the Finest Protecting Coating to Keep Lengthy-Lasting Readability
After restoring your headlights, making use of the appropriate protecting coating is crucial to protect that crystal-clear end and protect in opposition to future put on. When deciding on a coating, take into account merchandise designed to withstand UV harm, oxidation, and environmental contaminants like highway salt and mud. Clear coat sprays and sealants with silicone or polymer bases are fashionable selections as a result of they type a sturdy, clear layer that enhances longevity with out altering the headlight’s look. Go for coatings labeled with excessive UV resistance rankings to forestall yellowing and fogging over time.
Totally different coatings supply varied advantages, so realizing their properties can information your resolution:
- UV Sealants: Particularly formulated to fight solar harm and yellowing.
- Polyurethane Coatings: Provide a tricky, scratch-resistant end good for busy highway situations.
- Silicone-based Sprays: Present water repellency and assist stop grime buildup.
| Coating Kind | Sturdiness | Finest For |
|---|---|---|
| UV Sealant | 8-12 months | Solar-exposed areas |
| Polyurethane | 12-18 months | Scratch safety |
| Silicone Spray | 6-9 months | Water and grime repellency |
No matter you select, all the time make sure the headlight floor is totally dry and clear earlier than utility. A number of skinny layers typically outperform a single thick coat—permitting every layer to remedy correctly ensures most adhesion and safety. This funding in the appropriate protecting coating can maintain your headlights shining brilliant and clear, making nighttime driving safer and your automobile look effectively cared for longer.
The Means Ahead
Because the solar units and the highway forward dims, there’s no have to let cloudy headlights blur your imaginative and prescient or your journey. With slightly elbow grease and the appropriate know-how, restoring your headlights is usually a satisfying DIY mission that brightens not simply your drive, however your confidence behind the wheel. So seize your supplies, comply with the steps, and watch as your headlights shine anew—as a result of each journey deserves to be seen clearly. Secure travels and completely satisfied restoring!
